

Pictures from courses prior to 2006 will be uploaded in due course and photos from 2025 courses onwards will be added soon.
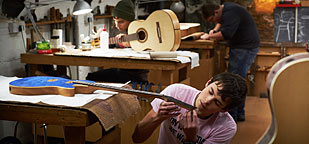
September - December 2024
The latest photos from this course were added on 03/04/2026

Duncan Cruttenden
Electrc guitars
Photos: 11
Electric guitars:
1) Mahogany body and neck; walnut cap; ziricote fingerboard
2) Swamp ash body; dyed maple cap; flamed maple neck; ziricote fingerboard

Harry Mitchell
Semi-acoustic guitar
Photos: 12
Flamed maple front, back and sides; maple neck; rosewood fingerboard

Rob Mullan
12 string acoustic guitar
Photos: 12
Spruce top; quilted maple back and sides; mahogany neck; ebony bridge and fingerboard

Carlos Rivera
Steel string acoustic
Photos: 12
Sitka spruce top; rosewood back and sides; mahogany neck; ebony fingerboard

Jon Woodall
Steel string acoustic
Photos: 12
Red spruce top; imbuya back and sides; mahogany neck; ebony fingerboard